
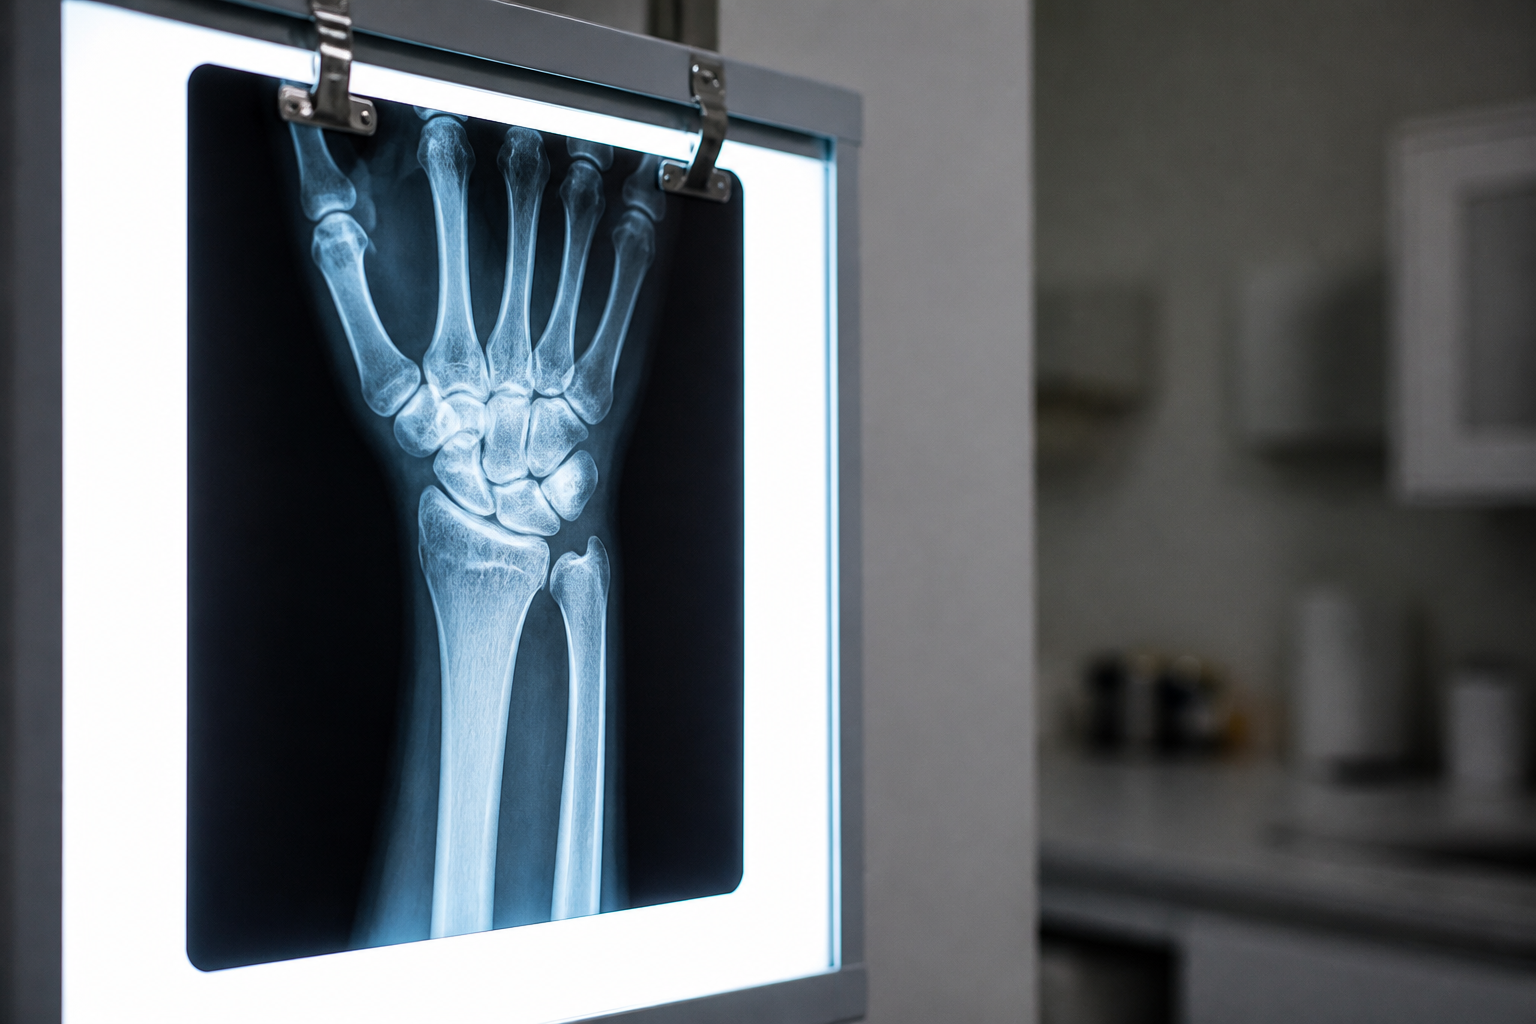

You’re holding your wrist X-ray in one hand, squinting at the grayscale image, and wondering: which bone is which? Your doctor mentioned something about the carpal bones, maybe even flagged a concern, and now you’re genuinely curious about what you’re looking at. I get it—I’ve been there myself, staring at my own imaging reports, trying to decode the medical language and actually *see* what the radiologist was describing.
Over the past 15 years of navigating my own joint health challenges, I’ve learned that understanding your own anatomy—really *seeing* it in your imaging—changes how you talk to your doctor and how you care for yourself. Today, I want to walk you through how to identify carpal bones on X-ray so you can follow along with your own report, ask smarter questions, and feel less lost in the wrist anatomy conversation.
A quick note: This is general educational information, not medical advice. If you’re concerned about a wrist injury or have pain, your doctor or radiologist is the right person to interpret your imaging and guide your care.
The PA View: Identifying All Eight Carpal Bones
The standard front-facing wrist X-ray is called a PA view (posteroanterior, meaning the X-ray beam travels from back to front through your hand). This view is your best friend for learning carpal anatomy because all eight bones are visible and relatively distinct. Think of the wrist as a two-row arrangement: four bones in the proximal row (closer to your forearm) and four in the distal row (closer to your hand).
Looking at the diagram below, start on the thumb side and work toward the pinky side. The proximal row, from thumb to pinky, contains:
- Scaphoid (thumb side) — boat-shaped, often the first to show wear
- Lunate — crescent-shaped, sits between scaphoid and triquetrum
- Triquetrum — three-sided, nestled on the pinky side of the proximal row
- Pisiform — smallest of all, pea-shaped, sits in front of the triquetrum
Here’s a mnemonic that has stuck with me for years: “Some Lovers Try Positions That They Cannot Handle.” That spells out Scaphoid, Lunate, Triquetrum, Pisiform, Trapezium, Trapezoid, Capitate, Hamate—all eight bones in order.
The distal row, also thumb to pinky, holds:
- Trapezium — underneath your thumb metacarpal
- Trapezoid — small, tucked between trapezium and capitate
- Capitate — the largest carpal bone, the king of the wrist, sitting dead center
- Hamate — on the pinky side, recognizable by its hook-shaped projection
If you’re struggling to find where to start, my honest tip: locate the capitate first. It’s the biggest carpal bone and sits squarely in the middle of the wrist. Once you’ve found it, use it as an anchor to identify its neighbors. The trapezoid sits to its thumb side; the hamate sits toward the pinky. Work outward from there, and the whole puzzle becomes much clearer.
Reading the Lateral View: Understanding What You Can and Cannot See
The lateral view—a side-on picture of your wrist—is the second essential X-ray projection. But here’s where I need to be honest with you: you cannot clearly identify all eight individual carpal bones on a lateral view because they overlap and stack on top of one another from this angle. This was a humbling discovery for me when I first tried to understand my own lateral wrist X-rays—I was squinting at a blur of bone and feeling frustrated.
What radiologists actually look for on the lateral view is far simpler and more useful. Look at the diagram below and you’ll see what clinicians call the axial alignment: a straight line should run through the long axis of the radius (your thumb-side forearm bone), through the center of the lunate, and down through the capitate. This alignment tells a radiologist whether your wrist is in normal position or bent in ways that suggest injury.
There’s also a distinctive feature called the “cup within a cup” appearance—the lunate creates a cup-like shape, and the capitate’s rounded head sits nestled inside it like a smaller cup. When this relationship looks normal and centered, your wrist alignment is good.
Two bones *are* usually visible on the lateral view because they sit forward on the wrist:
- Scaphoid — projects anteriorly (forward), so you can often see it as a distinct bump
- Pisiform — also sits forward, sometimes visible as a small bony prominence
The lateral view is less about naming bones and more about checking alignment and relationships—think of it as a structural integrity check rather than a bone-by-bone inventory.
Normal Wrist Carpal Bones Space and Spacing Patterns
When radiologists examine wrist X-rays, they’re not just identifying bones—they’re also measuring the spaces between them. Abnormal spacing can hint at ligament injuries, arthritis, or other conditions long before pain becomes obvious. Understanding these patterns helps you grasp what your radiologist report might be hinting at.
In the diagram below, you’ll see what radiologists call Gilula’s three arcs—three smooth, curved lines that should trace continuously across your carpal bones when you’re looking at a PA view. The first arc follows the top of the proximal row (scaphoid, lunate, triquetrum); the second arc follows the bottom of that same row; and the third follows the top of the distal row. When these arcs line up smoothly and evenly, your carpal bones are in normal alignment.
- Joint spaces should be even — typically 1–2 mm, consistent across the wrist
- The scapholunate gap (the space between scaphoid and lunate) should measure 2 mm or less in a healthy wrist
- If this gap widens to 3 mm or more, radiologists call it the “Terry Thomas” or “David Letterman” sign (yes, really—named after the gap between those celebrities’ front teeth) and it suggests possible scapholunate ligament injury
Here’s something important I wish I’d known earlier: a normal-looking X-ray does not rule out a scaphoid fracture. Scaphoid breaks are notoriously invisible on initial X-rays—sometimes not showing up for 10 to 14 days as the fracture line becomes visible. If you suspect a scaphoid injury, your doctor may immobilize your wrist and repeat imaging in 2 weeks, or order an MRI or CT scan sooner.
What I Recommend for Deeper Learning
If you find yourself frequently looking at wrist X-rays and want to understand carpal anatomy at a tactile level, I recommend keeping a life-size anatomical hand model nearby when you’re reviewing your imaging. The LVCHEN Human Skeleton Hand Model shows all the carpal bones with articulated joints, the radius and ulna, and flexible movement. Rotating it while looking at your X-ray helps you understand how the 2D image translates to the actual 3D structure of your wrist. Many people find it invaluable for understanding their own reports and discussing anatomy with their doctor.
Take It to Your Doctor
Now that you know how to identify carpal bones on X-ray and what normal spacing looks like, use this knowledge as a bridge in conversations with your physician. When your doctor mentions the lunate or asks about scapholunate alignment, you’ll no longer be lost. You can ask follow-up questions: “Does my capitate look centered? Are my Gilula arcs smooth?” These conversations often lead to better understanding and more confident care decisions.
Remember, this knowledge is for your own understanding and dialogue with your care team—never for self-diagnosis. Wrist anatomy on X-ray can be complex, and context (your history, physical exam, other imaging) matters enormously. But armed with the ability to identify carpal bones on X-ray, you’re no longer a passive observer of your own health. You’re engaged, informed, and ready to work with your doctor toward real answers.
About This Article

Written by Michael Torres. Michael Torres has had joint problems his whole life — hypermobile as a kid, chronic sprains and a dislocating shoulder through his twenties, an osteoarthritis diagnosis in his early fifties, and a right knee replacement since. He is not a doctor or a physical therapist and has no clinical training. He writes about what has helped him and what he has watched help the people around him, and says plainly when he has not tried something himself. More about this site.
Scope and limits. Michael has no medical or clinical training — he writes about living with his own joint pain, not about treating anyone else's. Nothing here is medical advice. Talk to a doctor before starting anything new, and get seen promptly for pain that is new, severe, worsening, or comes with swelling, fever, or numbness.
Verify this against a primary source
Specifics change, and your situation may differ from the one described here. These are the authorities worth checking directly:
- NIAMS — arthritis and musculoskeletal research from the NIH
- MedlinePlus — plain-language medical reference from the NIH
- Arthritis Foundation — condition guides and treatment overviews